Data flow map
Create objects
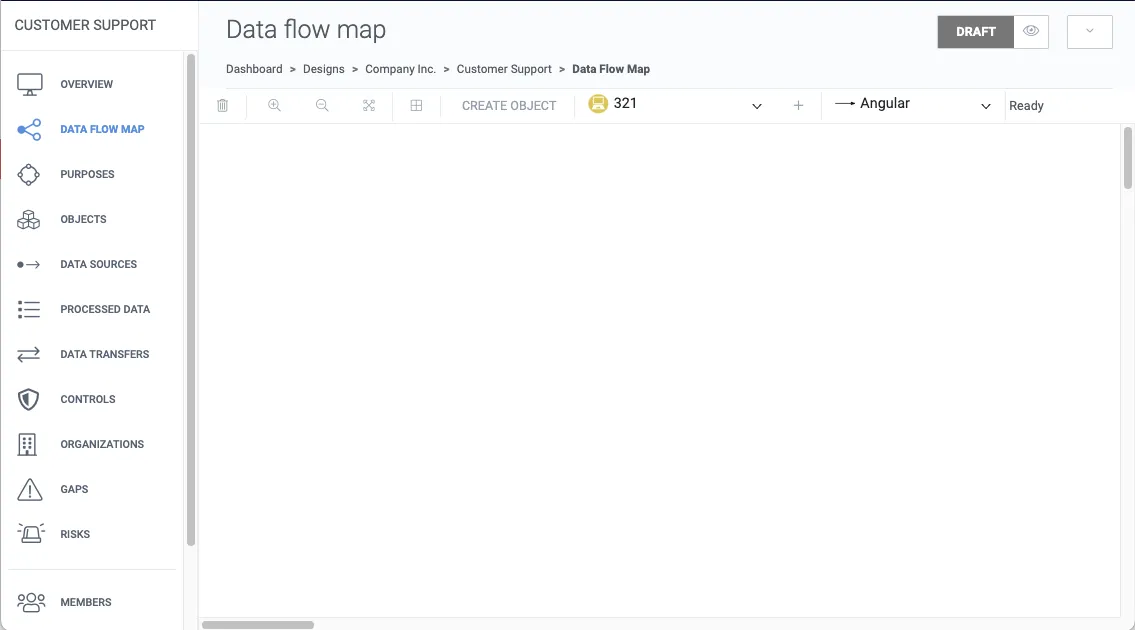
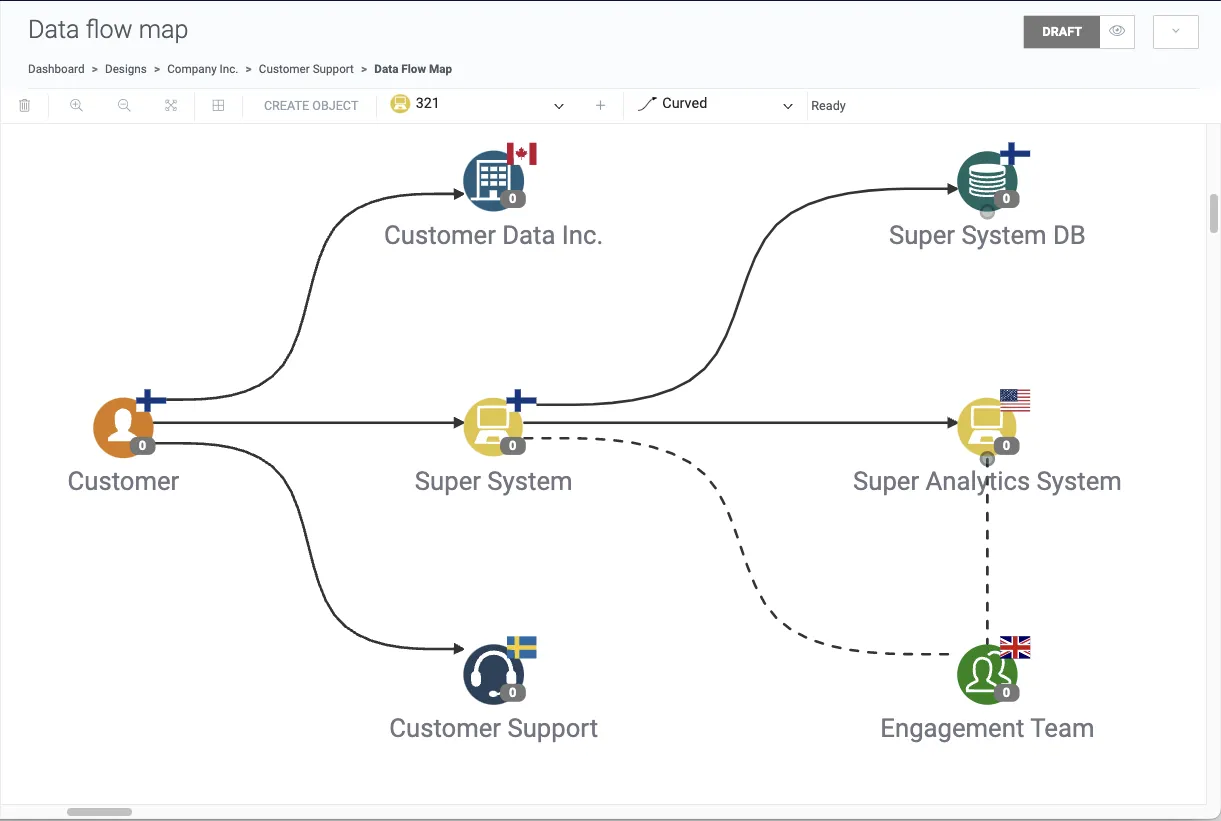
Section titled “Create objects”1. Click Data flow map from the left navigation panel.
2. Create your first object by selecting Create object from the toolbox.
3. Name and choose the group of the object as data subject category.
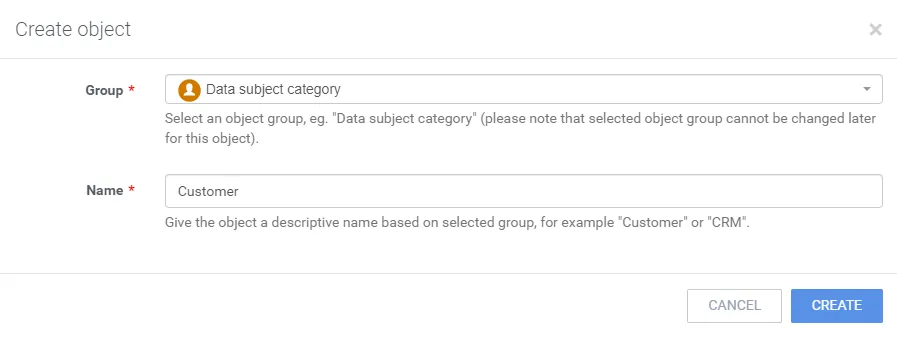
4. Click Create.
5. Create all the objects that relate to the design’s data processing activities, read more about design objects in Objects.
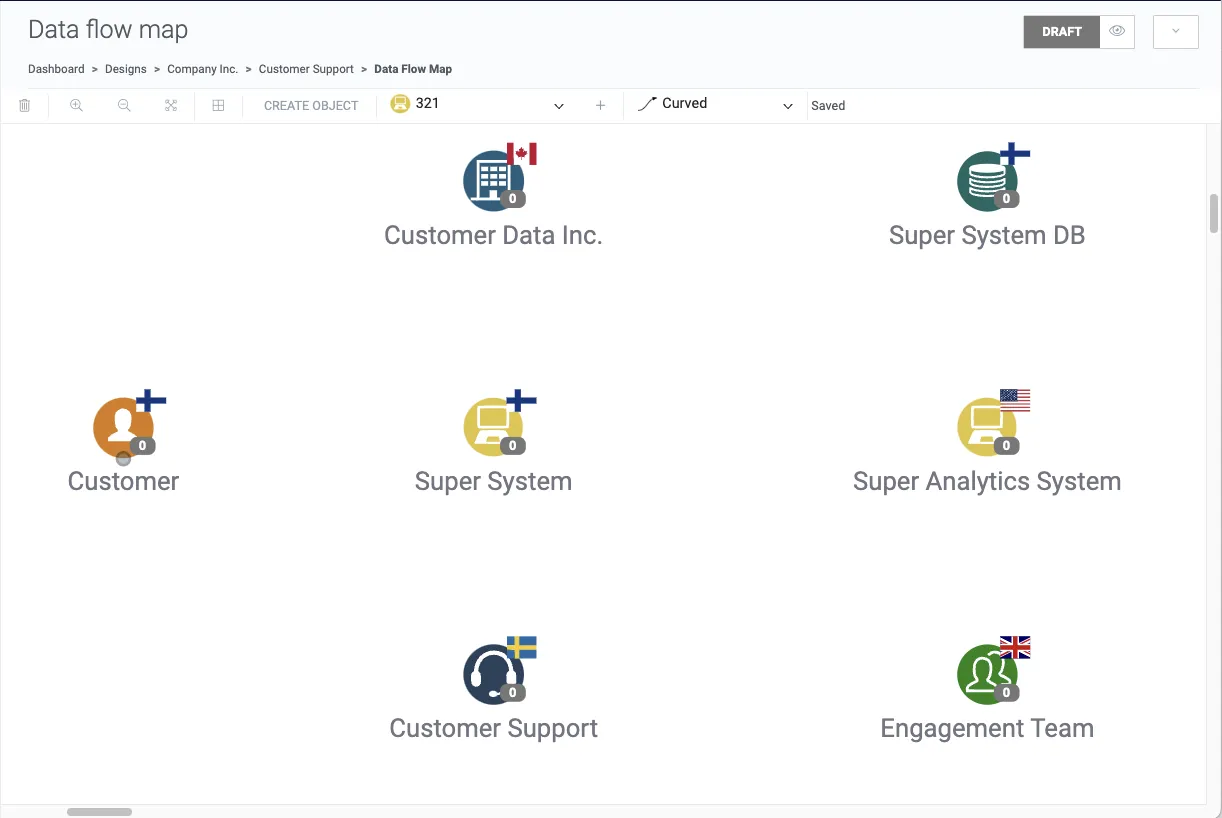
6. Connect objects together, read more about data flow in Data flow.
Describe an object
Section titled “Describe an object”7. To observe an object, double click it in the data flow map. (Customer is viewed here.)
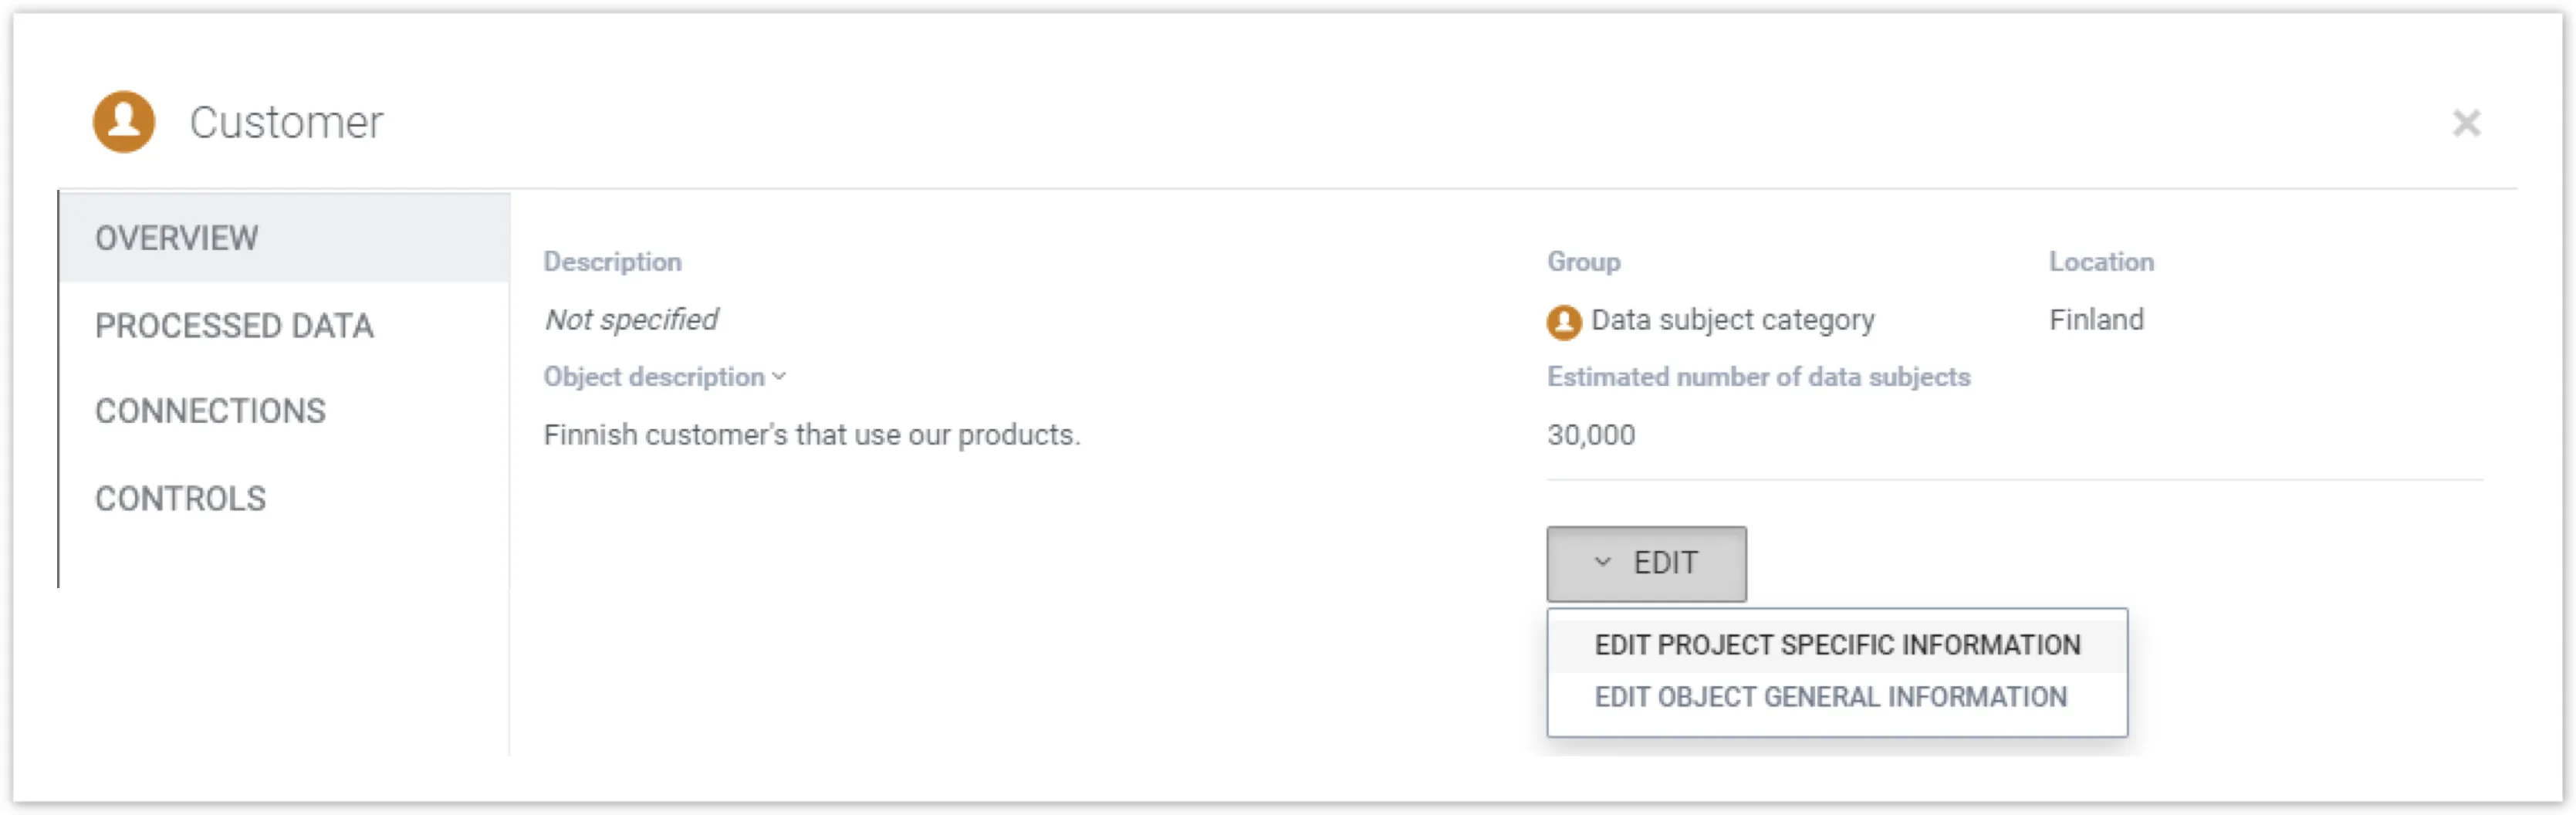
8. Describe how the object is relevant in the Design.
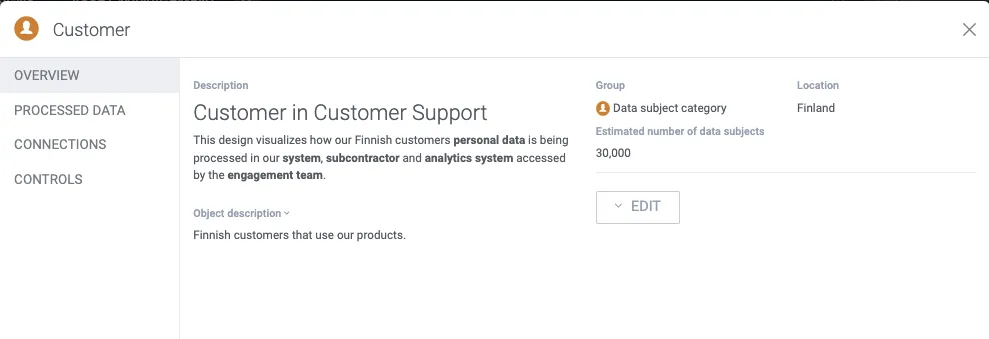
9. Check with Preview how the description will look like.
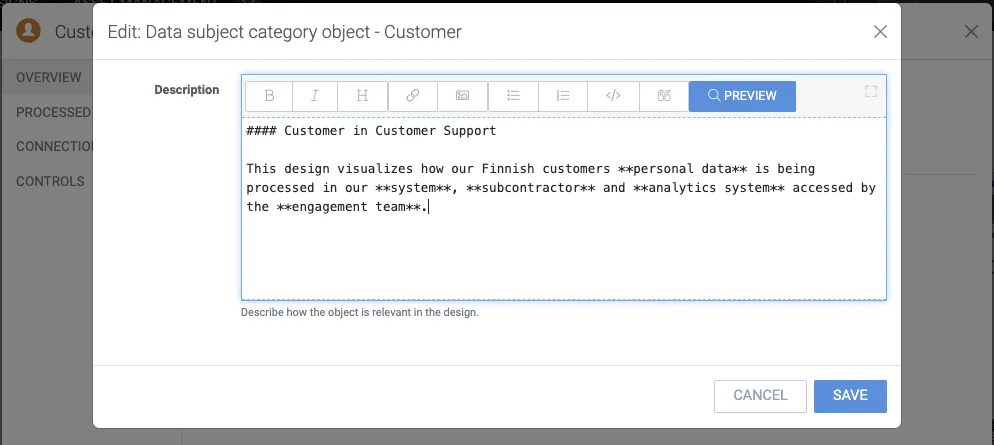
10. To save your changes click Save.
Add data types
Section titled “Add data types”11. To add data types and data categories, navigate to the Processed data tab.
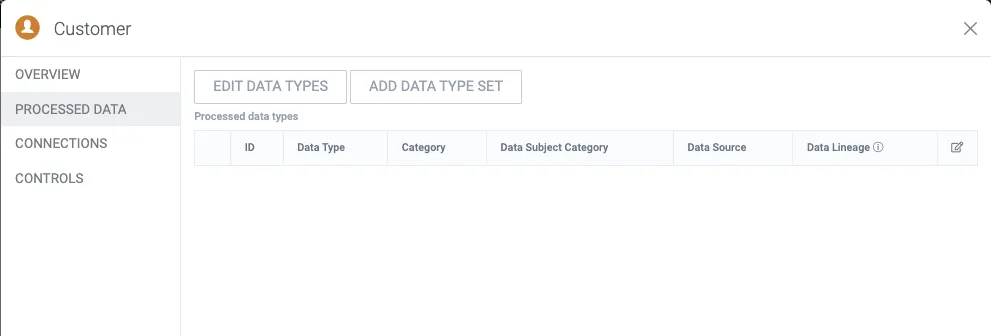
12. Click Edit data types.
13. Start typing a name of a data type that you want to add. If a data type of that name has not been created yet, the software proposes to “create new one”, and you can click it to start a dialogue.
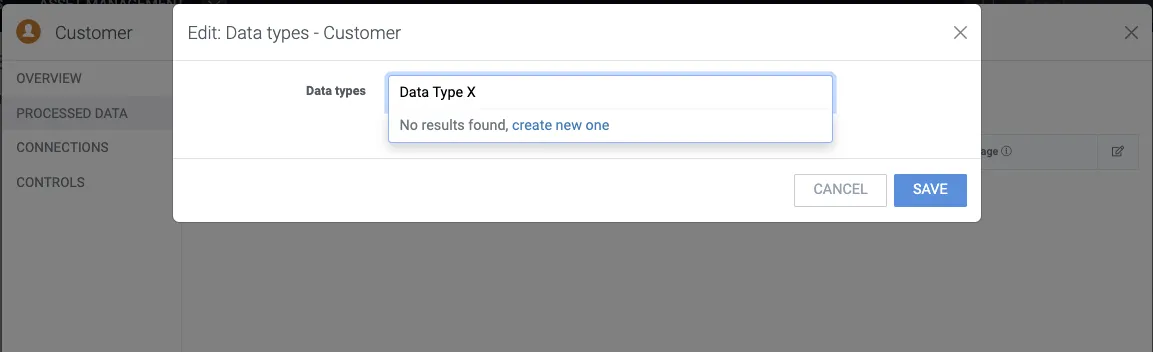
14. Name the data type and optionally select a category for each data type.
15. Click Add new to create multiple data types at once.
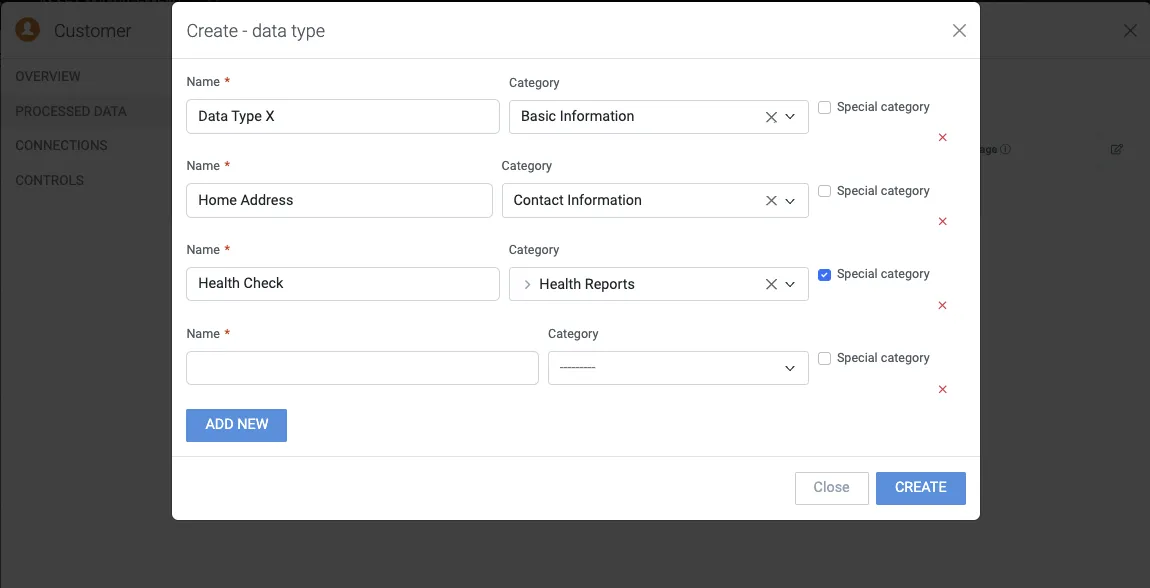
16. Like data types, if a category does not yet exist, you can click “create new one”.
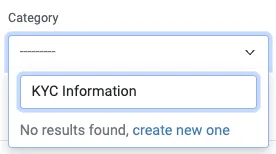
17. Name and optionally select if the category is relative to another category (creates a similar hierarchy as the design parent does).
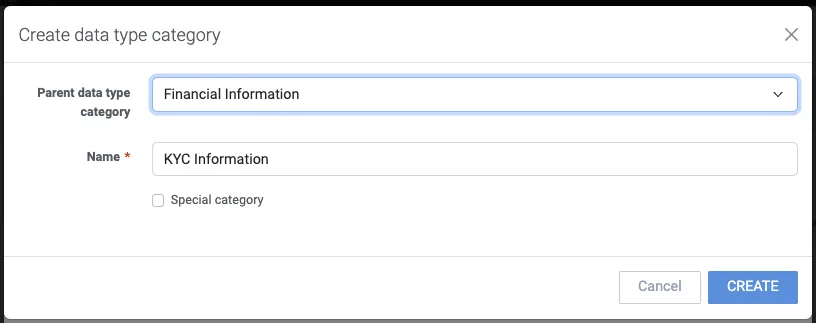
18. Once you are done with creating data types and categories, click Create.
19. Click Create.
20. Click Add data types.
21. Select all data types that are processed in this design.
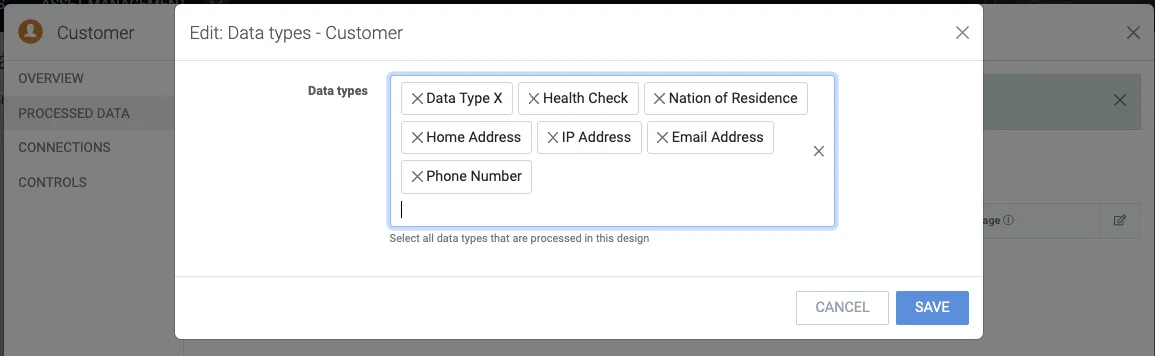
22. Click Save.
Link processed data to connections
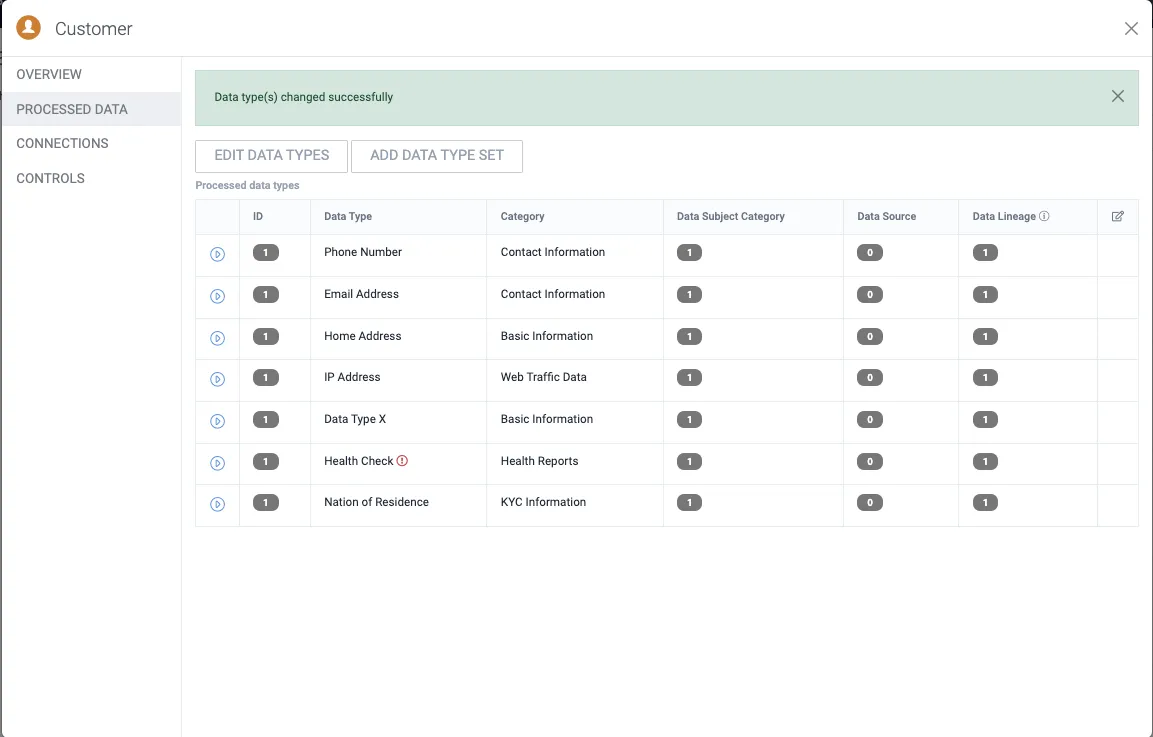
Section titled “Link processed data to connections”23. Close the form by clicking the “X” in the top-right corner of the object window.
24. Notice that you can now see the number “7” in a blue label in the Customer object, which represents the number of processed data types in that object. Next, double click the connection originating from the Customer object (data subject category).
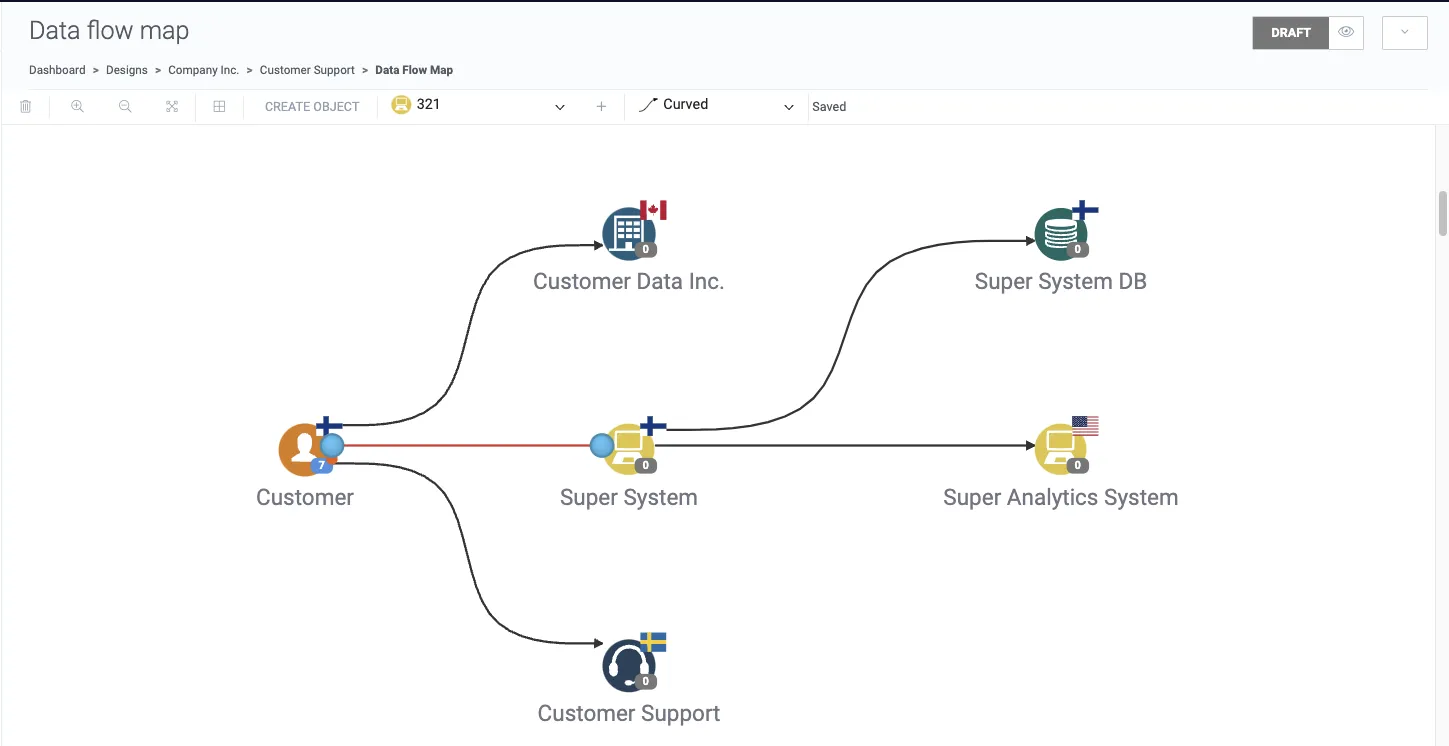
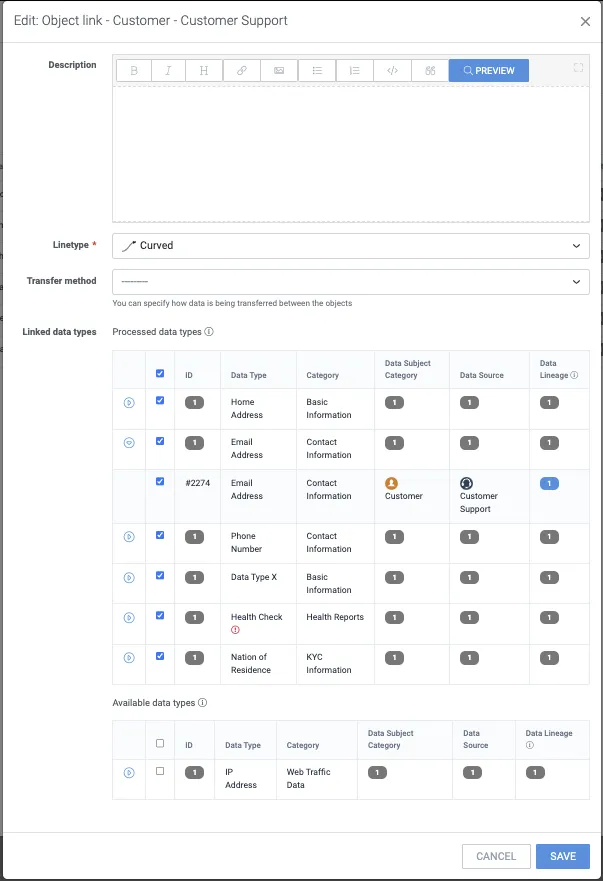
25. Click Edit to define which processed data types are flowing in the selected connection between Customer and Super System.
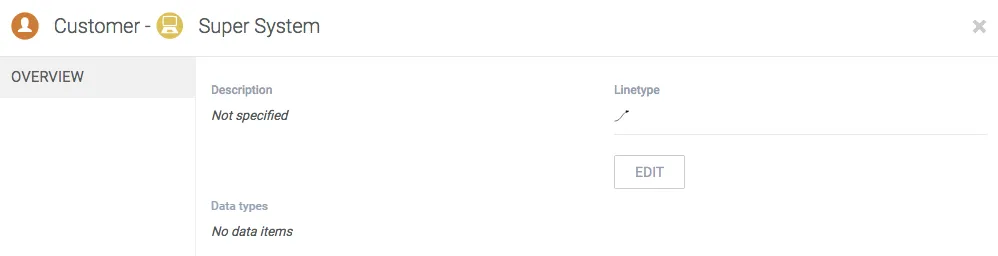
26. Select from the available processed data types.
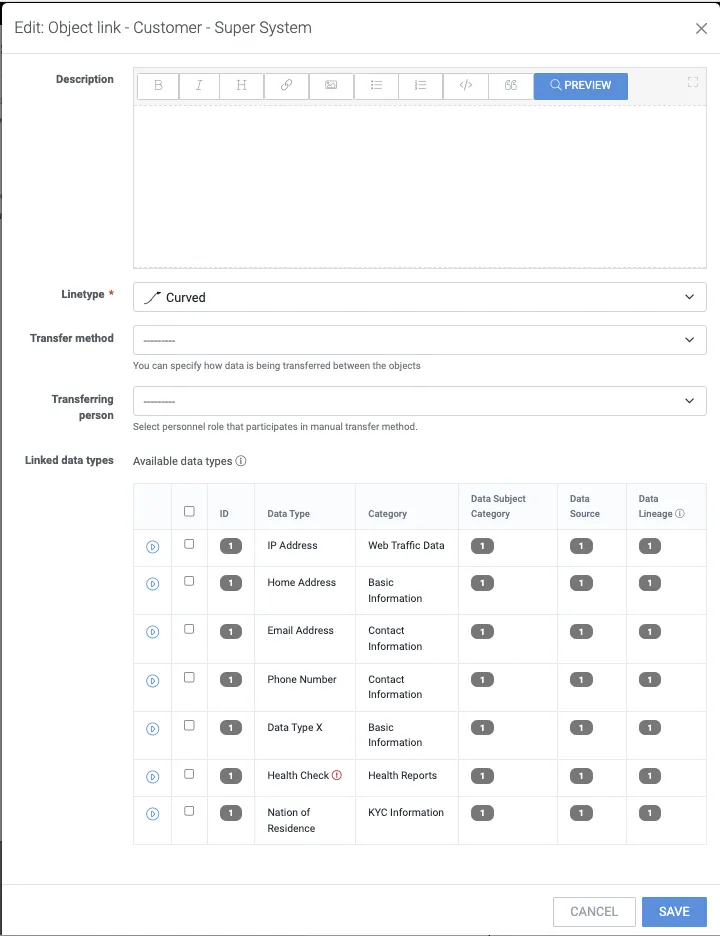
27. Click Save.
28. Return to the data flow map by clicking the “X”.
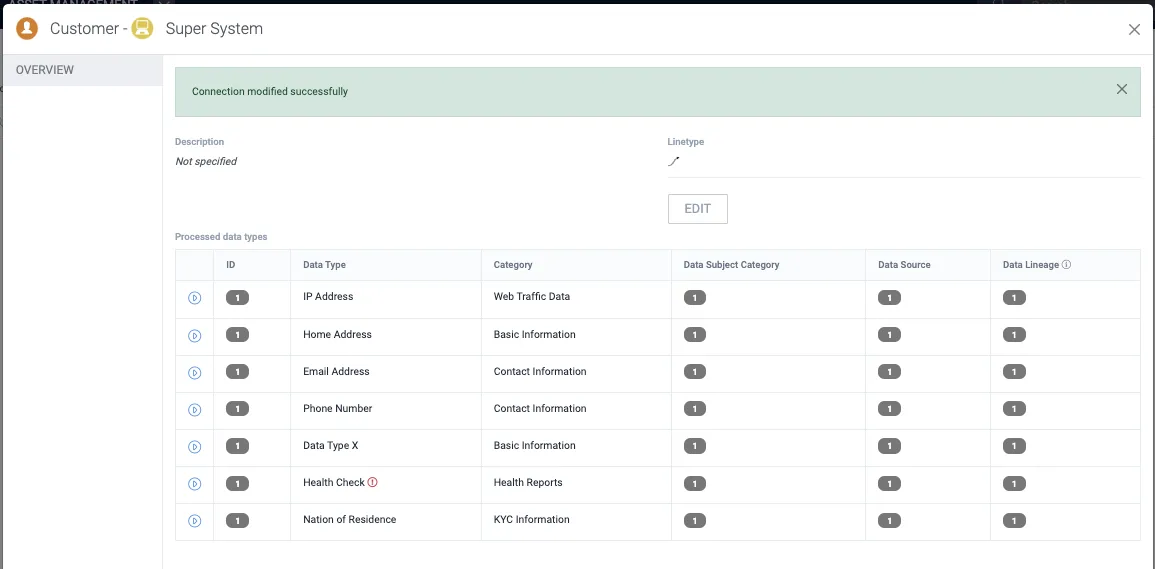
29. Repeat steps 23–28 to insert processed data types to each connection line.
30. Once you have finalized the data-flow map, there should be at least one processed data type in each object in the data-flow map.
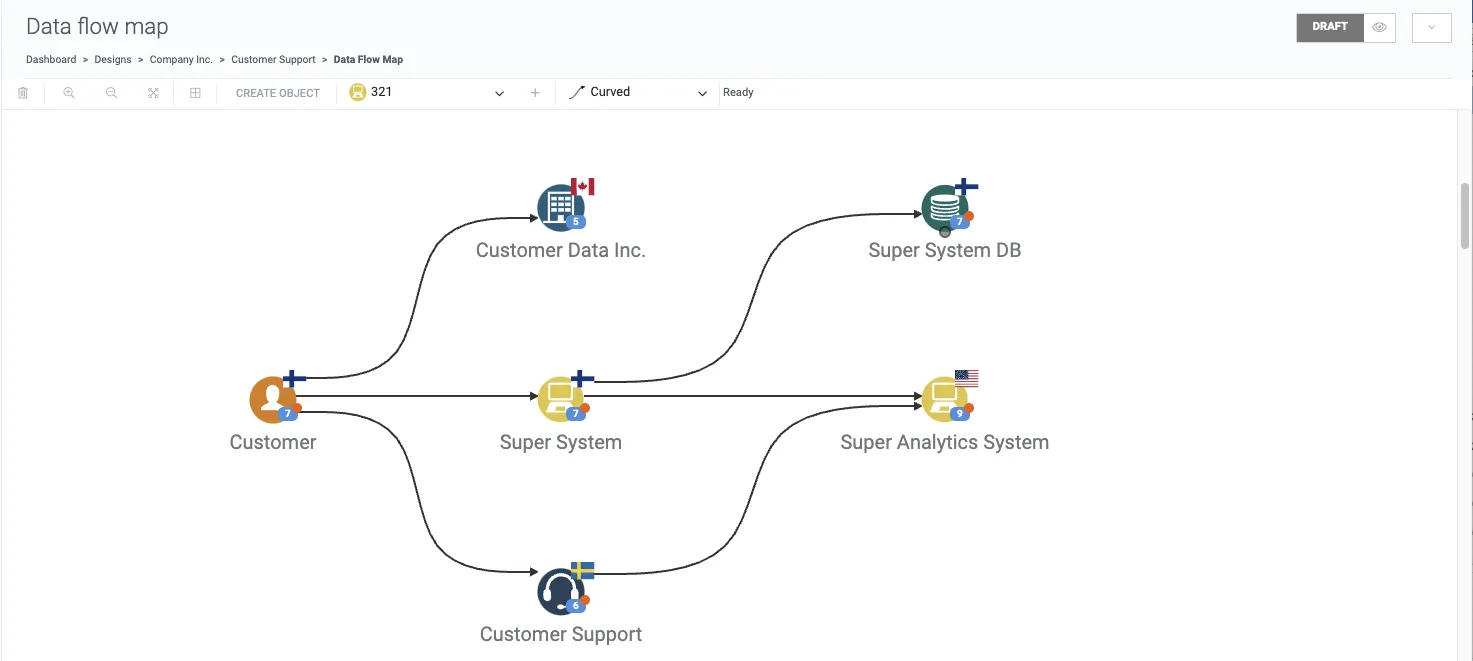
31. Notice that in the Processed Data tab of objects (and inside connection lines), you can collapse the processed data type rows from the blue arrow icon in the far-left column, which reveals the specific processed data types (ID, data type, category, data subject category, data source, and data lineage). You can also click the blue labels with a number in them to reveal the route of each processed data type.
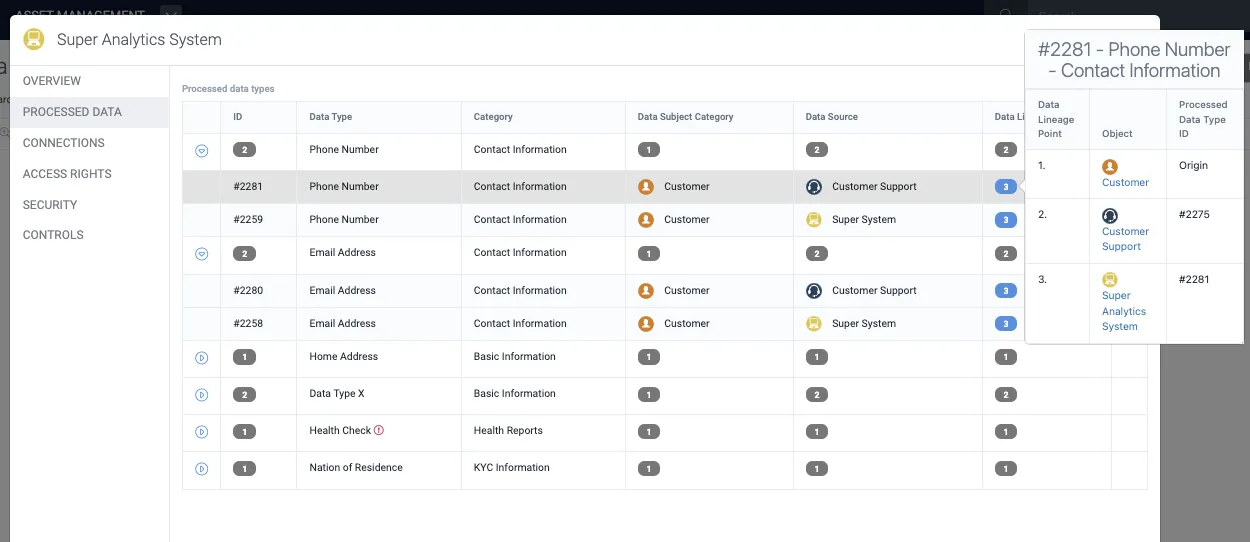
32. The same logic works inside connection lines’ processed data types tables. Notice that you can also deselect specific processed data types, so that they no longer flow between the objects.